Shake the cans of coconut milk well before opening. Measure ½ cup and set this aside.
Pour the remaining coconut milk into a 2-quart saucepan.
Add the monk fruit, honey and salt.
Warm the coconut milk over medium-low heat, whisking occasionally, until the monk fruit/honey have completely dissolved into the coconut milk, 1 to 2 minutes.
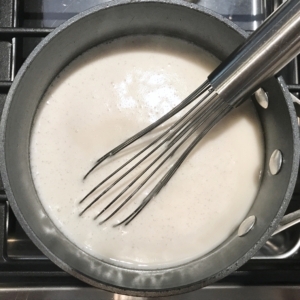
Add the arrowroot to the reserved ½ cup coconut milk and whisk until the starch is totally dissolved.
Pour the cornstarch mixture into the warm coconut milk while whisking gently.
Increase the heat to medium, stirring occasionally - continue cooking the base until it has thickened enough to coat the back of a spoon, 6 to 8 minutes. Do not allow the base come to a boil.
Remove the base from heat and stir in the vanilla.
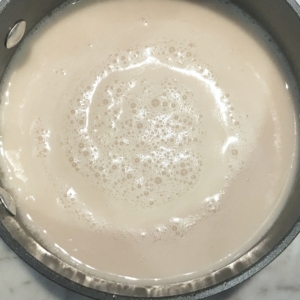
Pour the base into a shallow container. Let the base cool slightly on the counter so it's not hot when you put it in the refrigerator. Cover the container and refrigerate for at least 4 hours, up to 3 days.
When chilled enough, the base should be slightly pudding-like in texture. Pour the base into your ice cream machine and begin churning.
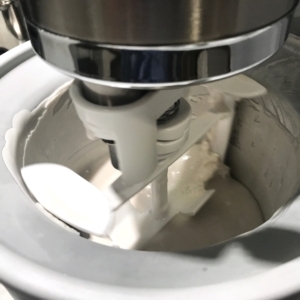
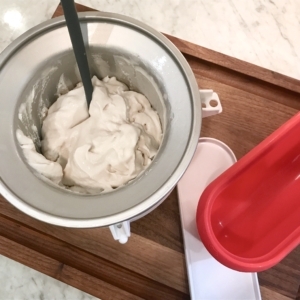
Churn the ice cream until it thickens considerably and is roughly the consistency of soft-serve ice cream. Depending on your machine, this could take anywhere from 10 to 20 minutes — keep an eye on it!
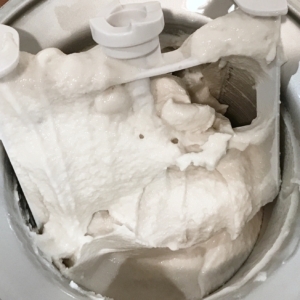
Scrape the ice cream into your freezer container. Press a piece of parchment or wax paper against the surface to prevent ice crystals from forming. Seal the container.
Freeze for at least 4 hours to harden the ice cream.
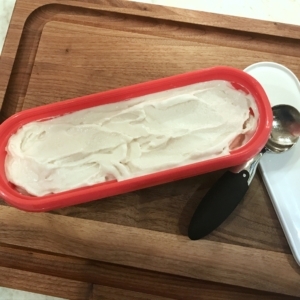
If your ice cream is too hard to scoop, let it warm a few minutes on the counter before scooping. I find that coconut ice cream melts a little more quickly than milk-based ice creams, so don't wait too long!
NOTES: I’ve tried Native Forest and Whole Foods (365) brands of coconut milk for this recipe – Native Forest wins every time. Texture is smoother, more consistent, etc. Both work. But when possible, go with Native Forest.
Ingredients
Directions
Shake the cans of coconut milk well before opening. Measure ½ cup and set this aside.
Pour the remaining coconut milk into a 2-quart saucepan.
Add the monk fruit, honey and salt.
Warm the coconut milk over medium-low heat, whisking occasionally, until the monk fruit/honey have completely dissolved into the coconut milk, 1 to 2 minutes.

Add the arrowroot to the reserved ½ cup coconut milk and whisk until the starch is totally dissolved.
Pour the cornstarch mixture into the warm coconut milk while whisking gently.
Increase the heat to medium, stirring occasionally - continue cooking the base until it has thickened enough to coat the back of a spoon, 6 to 8 minutes. Do not allow the base come to a boil.
Remove the base from heat and stir in the vanilla.

Pour the base into a shallow container. Let the base cool slightly on the counter so it's not hot when you put it in the refrigerator. Cover the container and refrigerate for at least 4 hours, up to 3 days.
When chilled enough, the base should be slightly pudding-like in texture. Pour the base into your ice cream machine and begin churning.

Churn the ice cream until it thickens considerably and is roughly the consistency of soft-serve ice cream. Depending on your machine, this could take anywhere from 10 to 20 minutes — keep an eye on it!

Scrape the ice cream into your freezer container. Press a piece of parchment or wax paper against the surface to prevent ice crystals from forming. Seal the container.

Freeze for at least 4 hours to harden the ice cream.

If your ice cream is too hard to scoop, let it warm a few minutes on the counter before scooping. I find that coconut ice cream melts a little more quickly than milk-based ice creams, so don't wait too long!