Dump the vegetables in the bottom of a 6-quart slow cooker or large soup pot. Place the bones in next. Tuck in the bay leaves and sprinkle salt and drizzle the vinegar over the bones. Add enough filtered water to cover everything completely.
Program the slow cooker to cook on low for 18-20 hours (you may have to set it for 10 hours and then come back and turn it back on…) or if cooking over the stove top, set the burner to low/simmer for same amount of time and cover the pot.
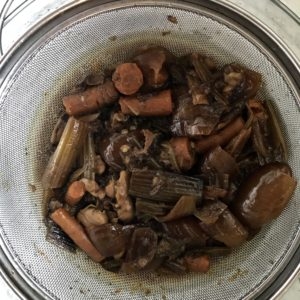
At 18-20 hours, off the top layer of “foam” (if necessary) and using tongs to hold one bone at a time and a spoon or spatula (something with a long, thin end) try to clean out the bones as much as possible and get all of the bone marrow out of each one. Then, pour the broth through a strainer and discard the solids (including the vegetables).
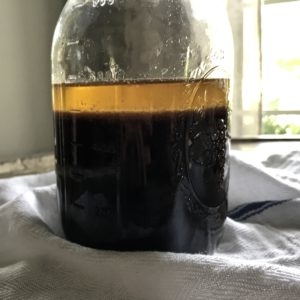
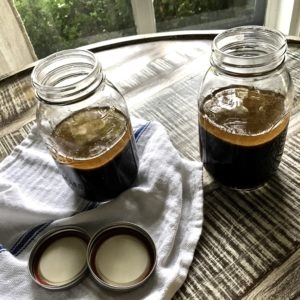
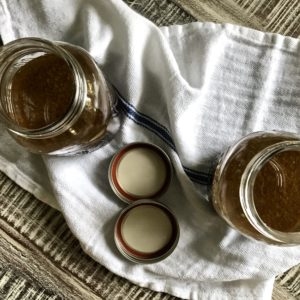
I suggest letting the broth cool and then pouring into glass mason jars/containers and placing in the fridge overnight prior to use. The fat will separate as it cools and end up at the top of the container – so when ready to use, scoop out that top layer and discard. Use immediately or place back in the fridge or into the freezer at this point.
The broth will keep in the fridge for a few days and in the freezer for several months. Be sure to let the broth cool completely before placing in the fridge or freezer.
NOTES:
- When you’re ready to drink it after it’s been in the fridge, simply scoop it out of its storage container (it will be the consistency of jello – that’s a wonderful thing!) and place into a pot over medium low heat and bring to a simmer.
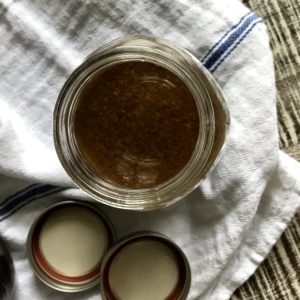
- In theory, broth SHOULD be cooked for 50-60 hours. And when you do this, quite a bit of the liquid will evaporate. So, you'll end up with super concentrated broth but only about 32oz worth, after the fat has been removed. This is what you're seeing pictured. If you abide by the "typical" 18-20 hour cook time - you will end up with approx. 64oz of broth, after the fat has been removed, but - it will not be as concentrated. You can do either one - if you have the time, go with the 50-60 hour cook time. If you don't, no harm done - go at least 18-20 hours.

#alixbarthnutrition, #bonebroth, #bonebrothrecipe, #bonemarrow, #gelatin, #holisticnutritionist, #holisticrecipes, #homemadebonebroth, #instafood, #justeatthefood, #linkendurancerecipes, #paleo, #primal, #roonutrition, #slowcookerbonebroth, antiinflammatory, cleaneating, dairyfree, easytomake, glutenfree, grainfree, leftovers, linkendurance, moderation, Nutrition
Ingredients
Directions
Dump the vegetables in the bottom of a 6-quart slow cooker or large soup pot. Place the bones in next. Tuck in the bay leaves and sprinkle salt and drizzle the vinegar over the bones. Add enough filtered water to cover everything completely.
Program the slow cooker to cook on low for 18-20 hours (you may have to set it for 10 hours and then come back and turn it back on…) or if cooking over the stove top, set the burner to low/simmer for same amount of time and cover the pot.
At 18-20 hours, off the top layer of “foam” (if necessary) and using tongs to hold one bone at a time and a spoon or spatula (something with a long, thin end) try to clean out the bones as much as possible and get all of the bone marrow out of each one. Then, pour the broth through a strainer and discard the solids (including the vegetables).
I suggest letting the broth cool and then pouring into glass mason jars/containers and placing in the fridge overnight prior to use. The fat will separate as it cools and end up at the top of the container – so when ready to use, scoop out that top layer and discard. Use immediately or place back in the fridge or into the freezer at this point.
The broth will keep in the fridge for a few days and in the freezer for several months. Be sure to let the broth cool completely before placing in the fridge or freezer.